Sunday 27 January 2013

Chevron Nails

Hey everyone

I've had such a busy weekend! I picked up my new car on Friday afternoon. Oh my lord it's a pocket rocket! I've gone from a beat up 1.3 Ford Ka to a 1.6 Sport Ka, and I can tell the difference!

Then yesterday we went to Ikea and I bought about 15 mason jars for 80p each for some crafty things I'm doing, and a lamp with a clamp which is soooooo handy because my old lamp was too short to light the top of my lightbox properly so with this one I can bend it n stuff and it's clamped to the side of my mirror. Perfect!

So today's nails are my take on a mani I keep seeing everywhere...chevron nails! Here goes..

 
Most of the pictures I've seen have been coral, black and white so I mixed it up a bit and went with baby pink and grey instead.
 
I have a new base coat! I've been using 17 Nail Xtras Strengthening Base forever but it's gone all thick and it's nearly all gone anyway so I bought Save The Nail - Bridge The Ridge Base Coat on Saturday so we'll see how it goes.
 
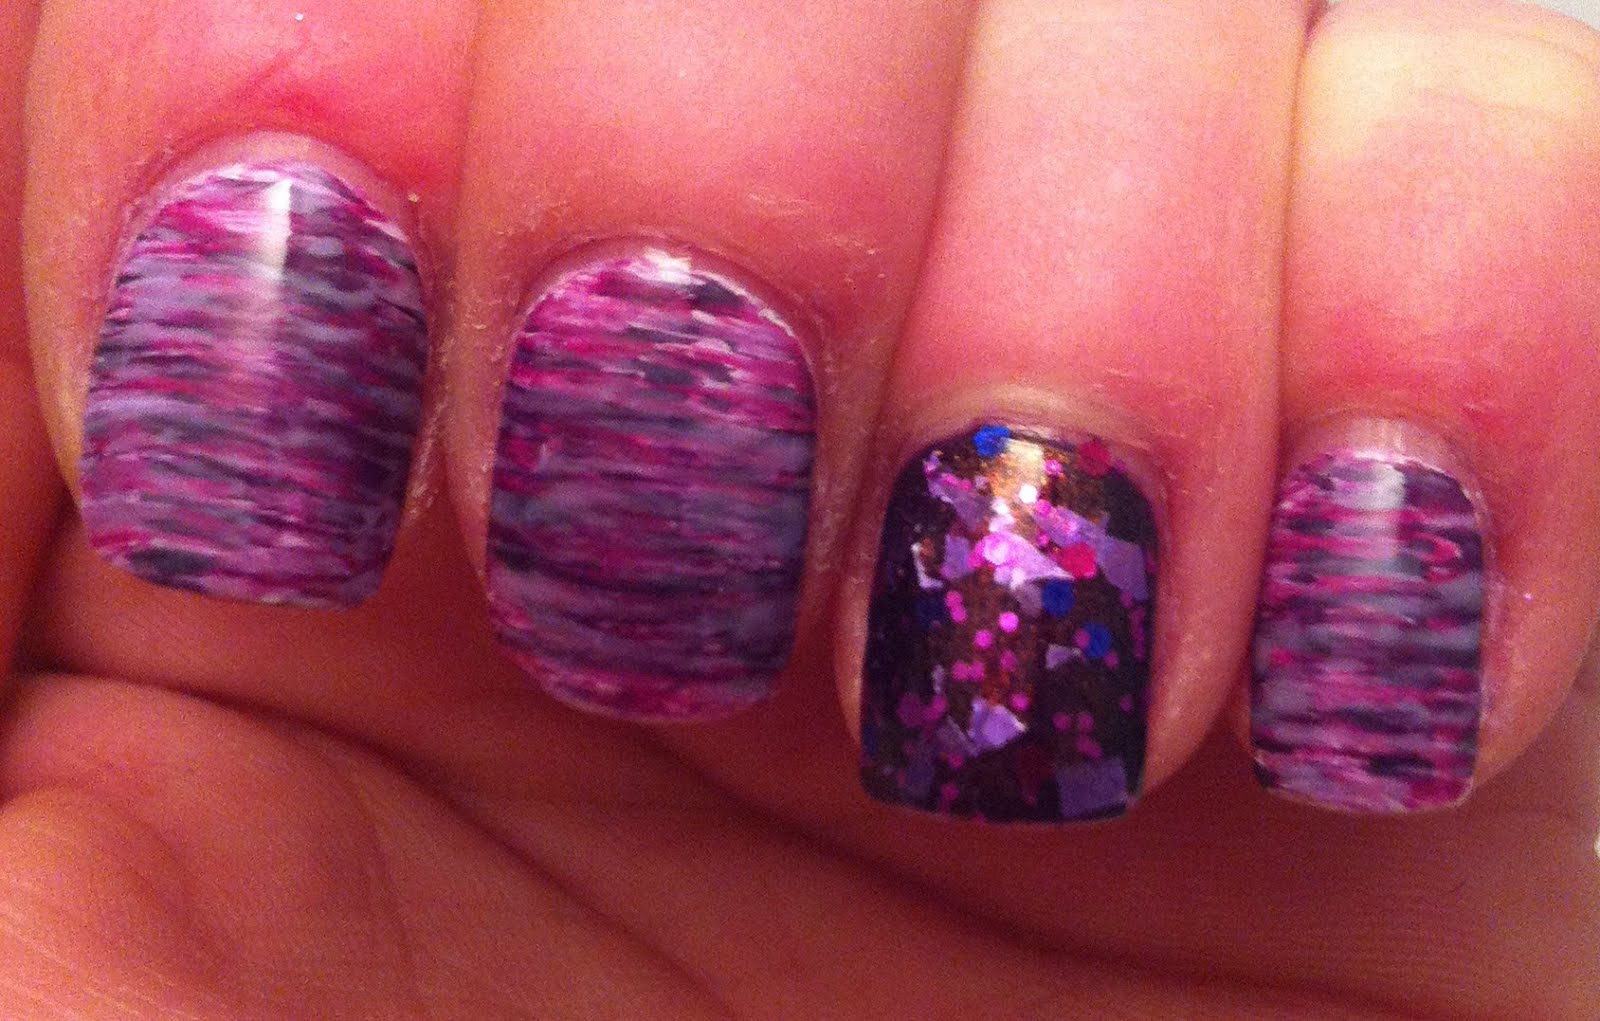
I painted all but my middle and ring fingers with 2 coats of Barry M - Strawberry Ice Cream which is a gorgeous pink (pic doesn't do it justice).
 
My middle finger is Barry M - Matt White with about 4 coats of Barry M - Diamond Glitter (seriously, my nail is like a cm thick lol).
 

For my ring finger I did 2 coats of Barry M - Matt White and then painted the chevrons with a tiny brush and grey acrylic paint. It was fiddly but I think I did good!

I topped it all off with a couple of coats of Seche Vite, which promptly shrank and took off the end of my chevrons hence the slight line at the end of my nail where I touched it up :)


Hope you enjoyed today's post

Over and out
Rach x

Wednesday 23 January 2013

Gaga Nails!

Hey nail art fans! So it's snowing again and that makes me sad :( so I did my nails which makes me happy again :)

I just showed these to my boyfriend and he called them Gaga nails so it stuck. They were inspired by a mani by The Nailasaurus who does some seriously amazing art! go check her out here. I used the studded cross on my pinky and improvised the rest within the same sort of theme.

If there was one thing I had to change about these nails it would be my thumb....too much seche vite has made the microbeads look wierd :( But otherwise I love, love love them!

All of the embelishments (is that the right word?) in todays mani are from a nail art wheel for £3.50 from River Island. I know.... shock, awe, pick your jaw up of the floor!

Base coat as always is 17 Nail Xtras Strengthening base coat and I used 2 coats of Barry M - Black.

So starting with mr pinky I used round gold studs, and then outined with Barry M Instant Effects - Gold Foil.
Ring finger is black pearls straight onto the black base
Middle finger is gold foil again, I used a toothpick to draw the crosses.
Pointer is large square gold studs onto the black base
And finally...my thumb is gold microbeads applied with a toothpick!!


I'm actually pretty surprised at how quickly I did these, they were less than an hour start to finish.

I added a coat of Seche Vite to each nail to seal in my work and give it a sexy shine. For my ring finger I spread the top coat on then wiped the brush on the side of the bottle and sort of poked it between the pearls so that they didn't look like one big ball on my nail. I think they kind of look like blackberries!

Anyway I hope you like my nails today and make sure you go check out the nailasaurus!

Over and out
Rach x


Monday 21 January 2013

Watercolour Nails

Hey everyone!

Hope you all had a good weekend and those of you from the Great British isles have not been incarcerated in your homes due to the snow!

So I did these nails last night but it was late when I finished them and as much as I love writing my posts, I like my bed more :)

 
These kind of remind me of that painting with the water lillies and the bridge, I think it's Monet. I can imagine them looking good in green tones with yellow details.
 
I started with my normal base and did all but my ring finger with Barry M - Matt White, Then I got my fan brush and licked it (lol) to make the bristles seperate. I dipped the very ends of the bristles in the following 3 colours one by one and dragged it across to make scruffy lines.
 
Barry M Gelly Hi-Shine - Plum (Darkest)
Barry M - Bright Purple (Medium)
Barry M Gelly Hi-Shine - Prickly Pear (Lightest)


I always find it kind of odd how some Barry M polsihes are called exactly what they are and others have a cryptic name.....hmmm something to ponder!
 
I kept layering the lines until I couldnt see any more white and I was happy with the effect.
 
For my ring finger I used a coat of Barry M Gelly Hi-Shine - Plum, followed by a coat of Models Own - Boogie Nights which looks great but is pretty tricky to work with. It's very 3D shall we say...kind of spiky! Once those 2 had dried, I used my as yet un-tried Max Factor - Fantasy Fire (OMG breathe *squeal*) For those of you who don't know of this polish it's like a purpley, pinky, bronzy iridescent polish which is A.M.A.Z.I.N.G in real life. Go buy....go go go.
 
So there it is...topped off as always with a dollop of Seche Vite.
 
Hope you like them!
 
Over and out
Rach x


Friday 18 January 2013

Milkshake Nails

Hey my lovelies!

So it's just taken me 2 hours to get home from work due to snow, the roads are terrible, so icy, and it doesn't help that my car only weighs about 400kg and has no heating whatsoever!

Anyway, I'll stop whinging and get on with my post....

 
The colour combination is inspired by a post by melissarose0410 on instagram (go follow shes amazing!)

So I started with my usual base and painted all but my ring finger in Barry M - Matt White. Then I did the gradient using acrylic paint (sooooooo much easier to blend!!) and a cosmetic sponge.

Next, on my ring finger I did one coat of Models Own - Pink Fizz, followed by one coat of Rimmel London - Princess Pink, which is quite sheer. Then I did a coat of Barry M - Yellow Topaz Glitter and another coat of Princess Pink to create my jelly sandwich.


It's actually the first time I've done a jelly sandwich and I quite like it! Although it's difficult to capture the depth in a picture so you have to make believe!

This mani reminds me of summer and McDonalds strawberry milkshike : )

I think my cuticles are improving too, yay me!

Hope you guys liked todays post, see you soon!!

Over and out
Rach x


Monday 14 January 2013

Navy Stars

Hey Guys!

Sorry I've not posted for ages, I've been soooo busy! But I'm back now so lets get straight into today's mani......

 
And were back to nasty cuticles again!

I've been trying hard to keep them nice but the weather has turned arctic and theres been snow n stuff and it's taken it's toll on my poor fingers :(

So anyway, heres a technique which I have become a little obsessed with....

I used my usual base coat and painted all but my ring finger with Rimmel London - Aye, Aye, Sailor which is a beautiful navy blue and goes on like a dream. I really rate Rimmel polishes, they're cheap n cheerful and really good quality (and 3 for 2 at Boots always helps!)

On my ring finger I used Barry M - Matt White (always my go to white)

Now heres the clever bit..... I printed out some stars on a piece of paper and put it inside a plastic wallet, I tried to make sure they fitted each nail so I did 3 different sizes. Then I painted over the stars (onto the plastic wallet) with the same 2 colours. Now these take quite a while to dry so be patient! You can drip drying drops on to them if you want to speed things up but these are far better if you make them in advance like the night before or something.

*Shudder* Cuticles, blurgh!

So once they're dry, carefully lift the edges with something like a stanley blade or exacto knife so that you dont crease them. Take your time because you'll be gutted if you ruin one (trust me)

Take them one at a time and first paint your nail with a clear coat, then carefully place the decal onto your nail and gently poke each point down.

You can do this technique will all sorts of designs....flowers, hearts, skulls etc.

I finished with a coat of Seche Vite to make them all nice and glossy :)

Hope you enjoyed today's post, thanks for reading!

Over and out
Rach x

Sunday 6 January 2013

My First Galaxy Nails

Hey everyone!

I had a lovely birthday weekend, I spent the day with my lovely boyfriend, who bought me some gorgeous boots from River Island, took me to the cinema to see Life of Pi, and then filled me with chicken at Nandos! Perfect Day.

So now I have a whole year to wait for presents! It sucks having my birthday so close to Christmas.

Anyway, here's something I've been meaning to try for forever and just never got round to it.... galaxy nails. I've seen tons of pictures on Instagram and Pinterest and watched countless tutorials on Youtube and finally I've done them.

 
I struggled to capture the depth of the colour, they almost look sort of 3D, I can't stop looking at them!

I started with my normal base coat then did 2 coats of Barry M - Black. Then I went and ate a curry with my mum lol!

Once they'd dried, I got my make up sponge and dabbed on random areas of colour. The blue is 17 - Catwalk Couture and the pink is Rimmel London - Strawberry Fizz. I added stars by dotting on acrylic white paint with a cocktail stick.


I then went over with George ASDA - Jackpot (polishes are £1.79 each and are actually pretty good and they have a massive range of colours!) which is basically a silver glitter top coat to add some depth to the starry effect, and finished with a coat of Seche Vite.

My cuticles are starting to look better don't you think?

I love how they turned out and I think I'll definitely try them again at some point, maybe with purple and orange or something!

I hope you like them, let me know what you think!

Over and out
Rach x

Friday 4 January 2013

Happy Birthday to me!


Hey everyone!

So it's my birthday tomorrow, which will put me in a whole new age bracket.....25! Duh duh duuuuh! So in an effort to hold on to my youth, I've decided to do one of the most childish and girly mani's I've ever done.

Anyone who knows me will know how much I love all things Disney so without further ado.......

 
I started with my base, then did two coats of Rimmel London - Sweet as Sugar. For my Princess Jasmine nail, I used a Disney transfer tattoo which I got in a set from ebay. It's so easy to apply, just wet it, hold it then peel it back et voila!

For the castle nail, I used Barry M - Turquoise and a cocktail stick to draw the design and the rest are hexagon glitter placement (also from ebay in a set of 12 colours), you just pick up each hex with a cocktail stick dipped in clear polish and place it onto the wet base (fiddly but effective!). I used the sort of white ones on my thumb and pinkie and light blue ones on my middle finger.

 
Once everything was dry, I applied 2 coats of Seche to seal it all in and make sure my hexes were all covered up!
 
So that's my birthday nails! Let me know what you think in the comments
 
Over and out
Rach x


Wednesday 2 January 2013

Neon leopard nails

Happy New Year!!

Anyone have any new years resolutions?

Mine are to drink more water (at the moment I drink solely diet coke and coffee :S), and to make an effort to leave my cuticles alone!

On with the nails...

 
I can't even put into words how much I love this mani! I love it, I love it! You can't really tell from the picture but the peach really pops out.
 
So, as always I started with my base coat which is 17 Nail Xtras Strengthening Base and then applied 2 coats of O.P.I - Skull and Glossbones. Once that dried, I did little splonges all over each nail using Barry M - Peach Melba, and then to finish I did partial outlines and some random dots using Rimmel London - Man Overboard, and of course, a good coat of Seche Vite.
 
So so simple but really effective I think.
 
 
For once, shock horror, I have not used either my tiny paint brush or any acrylic paint! Wonders will never cease.
 
I also stumbled across a revelation this week. Seche Vite do a refill kit! 118ml of liquid perfection and a tiny funnel for refilling the bottle. I spotted it on ebay for £22 (huge saving! a 15ml bottle is £9 from boots) and free shipping so come pay day I know what I'll be buying.
 
Ooh and also, the Bourjois Magic Nail Polish Remover I talked about last time... I'm pleased to confirm it does in fact take off glitter polish!
 
Anyway, I'm rambling! Hope you liked todays mani, any comments, you know what to do.
 
Over and out
Rach x